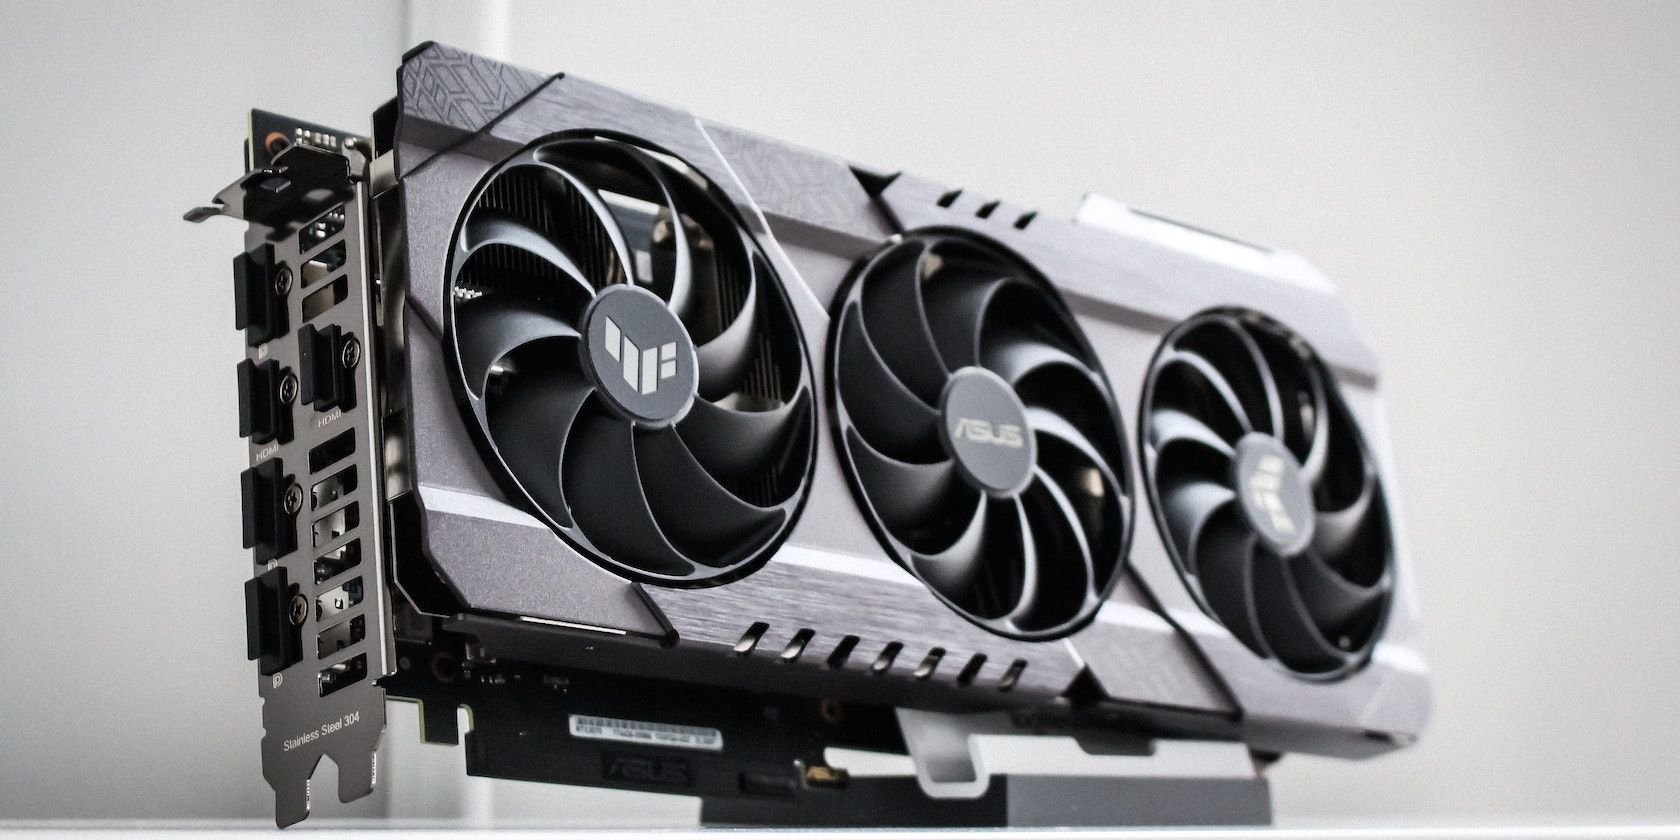
Mastering the Art of Graphic Card Installation: A Comprehensive Guide
Welcome, hardware enthusiasts! Today, we delve into the world of graphic card installation, unlocking the power of cutting-edge GPUs for an immersive computing experience. Whether you're a seasoned builder or a novice, this guide is tailored to ensure a smooth installation process, avoiding common pitfalls and optimizing your system's performance.

Step 1: Pre-Installation Preparations
Before diving into the installation, take the time to prepare your system:
-
Check Compatibility: Ensure that the graphic card is compatible with your motherboard and power supply. Refer to the manufacturer's specifications for compatibility details.
-
Update Drivers: Download the latest graphics drivers from the official website. Having updated drivers ensures optimal performance and compatibility with the latest software.
Step 2: Safety First – Power Down and Unplug
Safety is paramount when working with computer hardware. Before starting the installation process:
-
Turn off the PC: Shut down your computer and disconnect it from the power source.
-
Ground Yourself: To prevent static electricity damage, ground yourself by touching a metal part of the computer case before handling the graphic card.
Step 3: Identify and Clear the PCIe Slot
Locate the PCIe (Peripheral Component Interconnect Express) slot on your motherboard:
- Remove PCIe Slot Covers: Identify the appropriate PCIe slot for your graphic card. Remove the covers from the corresponding slot by unscrewing them from the case.
Step 4: Graphic Card Installation
Now, let's install the graphic card:
-
Align and Insert: Align the graphic card's gold connectors with the PCIe slot and gently insert the card. Apply even pressure until the card clicks into place.
-
Secure the Card: Secure the graphic card in place by screwing it into the case using the screws provided. This prevents any accidental dislodging.
![Motherboard/Graphics Card]How to install the graphics card on motherboard | Official Support | ASUS Global](https://km-ap.asus.com/uploads/PhotoLibrarys/751e1174-411a-465a-b12f-aabea3200778/20230906172208773_19.jpg)
Step 5: Power Connections
Connect the necessary power cables to the graphic card:
- PCIe Power Connectors: Depending on the graphic card, connect the required PCIe power cables. These are typically 6 or 8-pin connectors.
Step 6: Post-Installation Checks
With the graphic card installed, perform the following checks:
-
Double-check Connections: Ensure all cables are securely connected to the graphic card.
-
System Boot: Power on the computer and check if the system boots successfully.
Step 7: Driver Installation
Complete the installation by installing the latest graphics drivers:
-
Insert Driver Disk: If provided, insert the driver installation disk that came with the graphic card, or download the drivers from the official website.
-
Follow Installation Wizard: Follow the on-screen instructions to install the drivers. Reboot your system if prompted.
Conclusion: Enjoy the Power of Enhanced Graphics
Congratulations! You've successfully installed your graphic card, unlocking a new realm of possibilities for gaming, content creation, and more. Should you encounter any issues, consult the manufacturer's troubleshooting guide or seek assistance from online communities. Now, sit back, relax, and immerse yourself in the visual wonders brought to you by your upgraded graphics hardware. Happy computing!


